
Create a Zalo app
- Create an application on the Zalo Developer Portal.
- Open
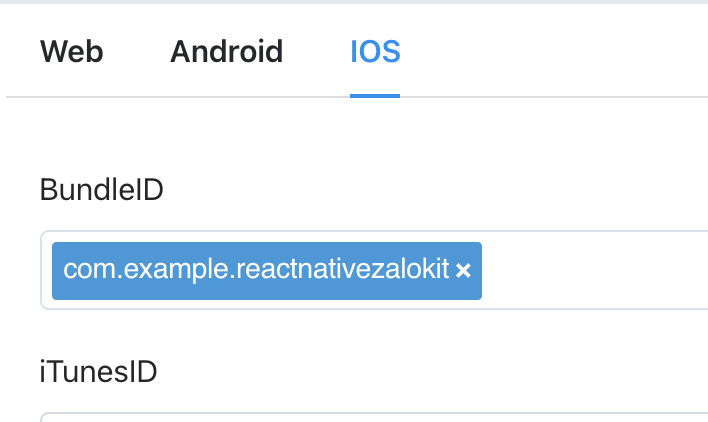
Sản phẩm > Đăng nhập(Products > Login) and configure Android and iOS:
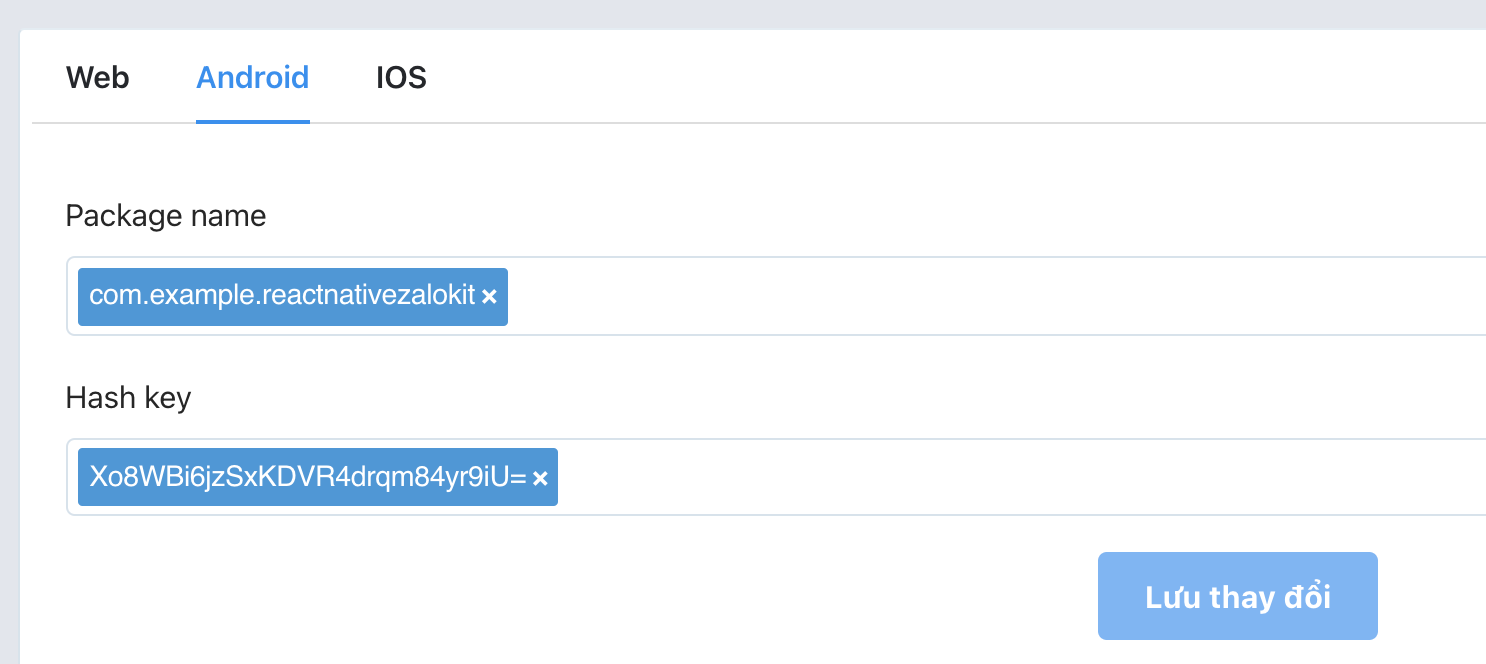
- Android: the package name and the hash key of your signing certificate. See Hash key below.
- iOS: the bundle ID.
- Note the numeric Zalo App ID. Every setup step uses it.
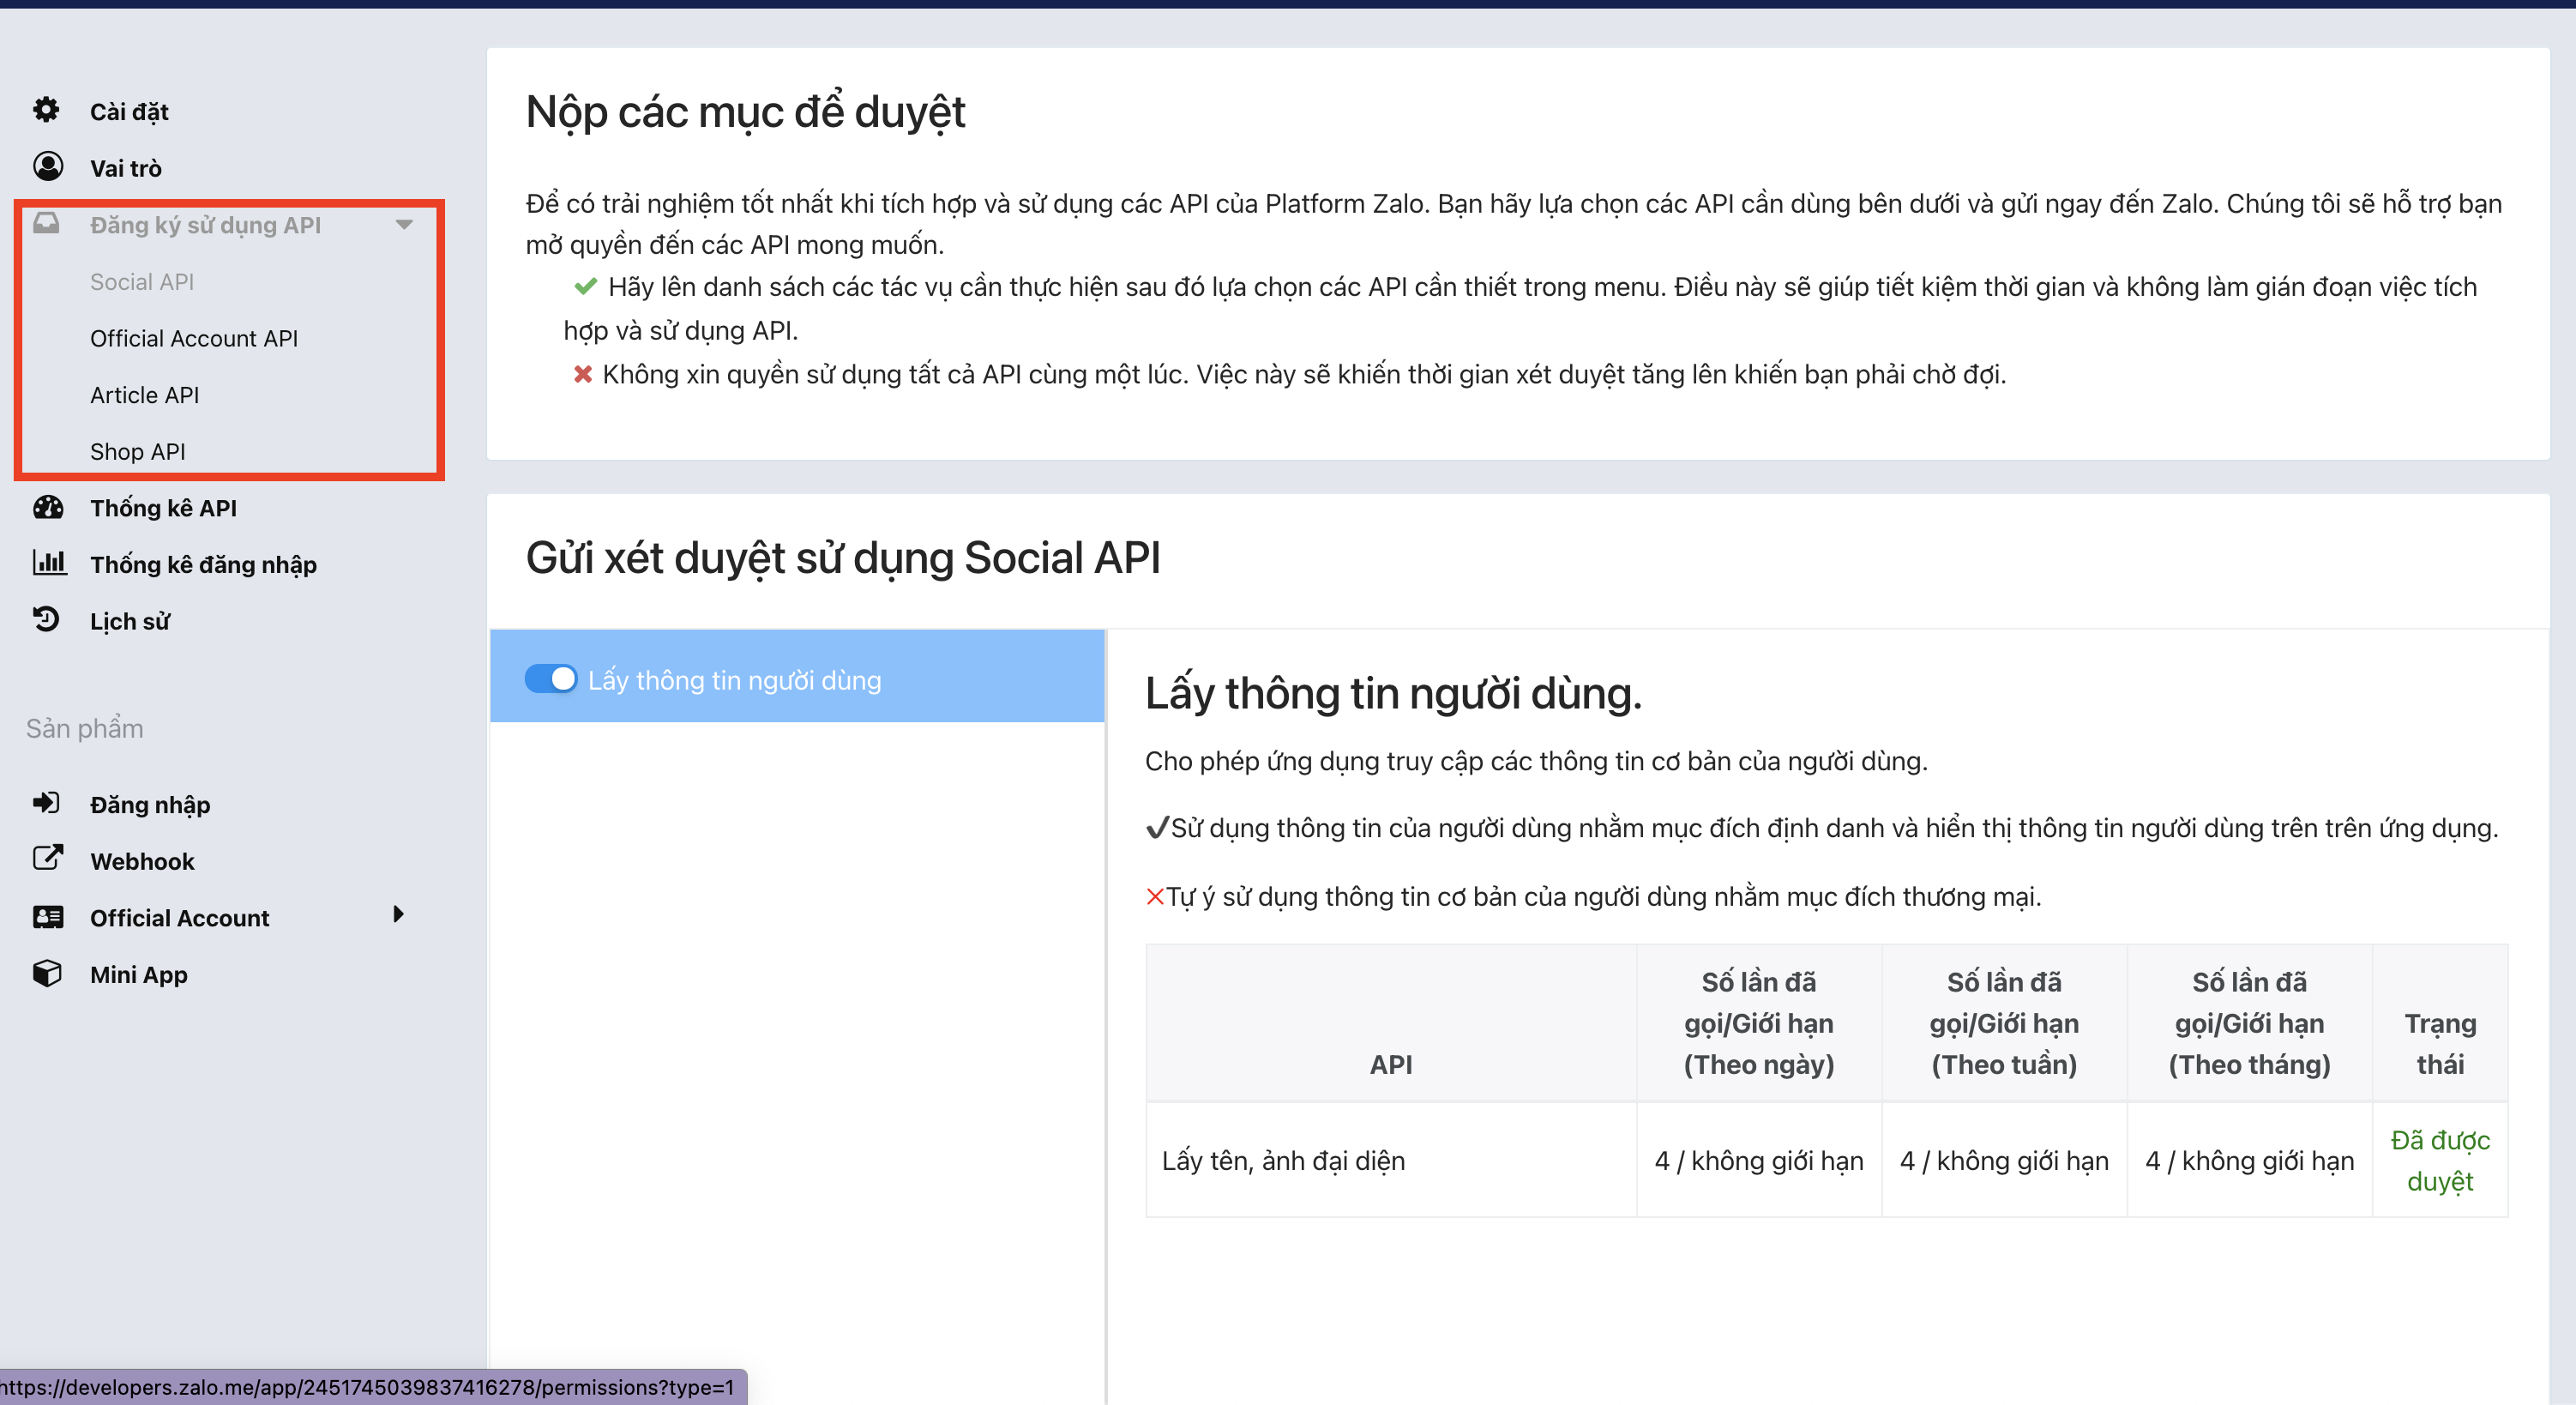
- Request the permissions your app needs, then switch the app to
Live Modeto get full functionality.
Hash key
The Android hash key is the Base64 SHA-1 of the certificate that signed the app. Each signing key has its own hash key, so register the one used by each build you ship.
From the running app
getApplicationHashKey() returns the hash key of the build that is running, computed the same way the Zalo SDK does:
ts
import { getApplicationHashKey } from 'react-native-zalo-kit';

console.log(getApplicationHashKey());
For Play App Signing
With Play App Signing, Google re-signs your app, so the build installed from Google Play has a different hash key than your local or upload build. Get the App signing key certificate SHA-1 from Play Console (Test and release > Setup > App signing) and convert it:
sh
echo "<SHA-1, e.g. AB:CD:...>" | tr -d ':' | xxd -r -p | base64From a keystore
sh
keytool -exportcert -alias <alias> -keystore <keystore> | openssl sha1 -binary | openssl base64